Most people learn that when using LaTeX, that images and figures can move all over the place when used in a document. The standard advice is to make your document final and then try to tweak the placement of the figure.
Good advice.
And it never works for me. I always want to correct a sentence here, clarify a point there and soon the figure drifts to the next page.
Maddening.
So, the other day I was plotting some graphs of financial data using gnuplot and wanted to put all 6 PNGs in 1 A4 page. My first instinct was to generate a LaTeX template and usesubfigure (superseded by Subfig) to place the images.
hmmm....this is going to take a long time I thought.
Each PNG image is 480 x 360 pixels in size.
An A4 paper is 210 by 297 mm in size
Got to do some math to figure out placement....
Screw that, I'll just use ImageMagick to do that.
montage `ls $OUTDIR/${base}*.png` -geometry 100x100% -frame 5 -tile 2x3 $OUTDIR/${base}_merged.png
...
convert -page A4 $OUTDIR/${base}_merged.png $OUTDIR/${base}_merged.pdf
montage and convert are part of the ImageMagick tool suite
So, the above montage command draws a frame around each image and produces a 2 column by 3 row single image of the 6 PNGs. And convert resizes the image to fit into an A4 pdf file.
Obviously there are plenty of drawbacks with my approach, chief among them is lack of flexibility in adding text and such. You can do it over the image though and a bit of captioning with montage but that's about it.
In this case, my needs were simple; all I wanted was all the 6 images in 1 A4 sheet with very little text. montage fits my needs perfectly well.
An example image stitched by montage is
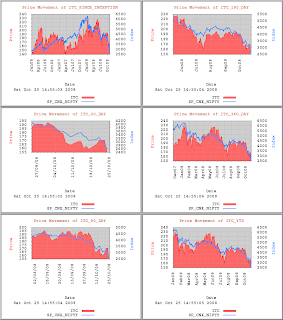
This is then converted to PDF using convert.
Good advice.
And it never works for me. I always want to correct a sentence here, clarify a point there and soon the figure drifts to the next page.
Maddening.
So, the other day I was plotting some graphs of financial data using gnuplot and wanted to put all 6 PNGs in 1 A4 page. My first instinct was to generate a LaTeX template and use
hmmm....this is going to take a long time I thought.
Each PNG image is 480 x 360 pixels in size.
An A4 paper is 210 by 297 mm in size
Got to do some math to figure out placement....
Screw that, I'll just use ImageMagick to do that.
montage `ls $OUTDIR/${base}*.png` -geometry 100x100% -frame 5 -tile 2x3 $OUTDIR/${base}_merged.png
...
convert -page A4 $OUTDIR/${base}_merged.png $OUTDIR/${base}_merged.pdf
montage and convert are part of the ImageMagick tool suite
So, the above montage command draws a frame around each image and produces a 2 column by 3 row single image of the 6 PNGs. And convert resizes the image to fit into an A4 pdf file.
Obviously there are plenty of drawbacks with my approach, chief among them is lack of flexibility in adding text and such. You can do it over the image though and a bit of captioning with montage but that's about it.
In this case, my needs were simple; all I wanted was all the 6 images in 1 A4 sheet with very little text. montage fits my needs perfectly well.
An example image stitched by montage is

This is then converted to PDF using convert.